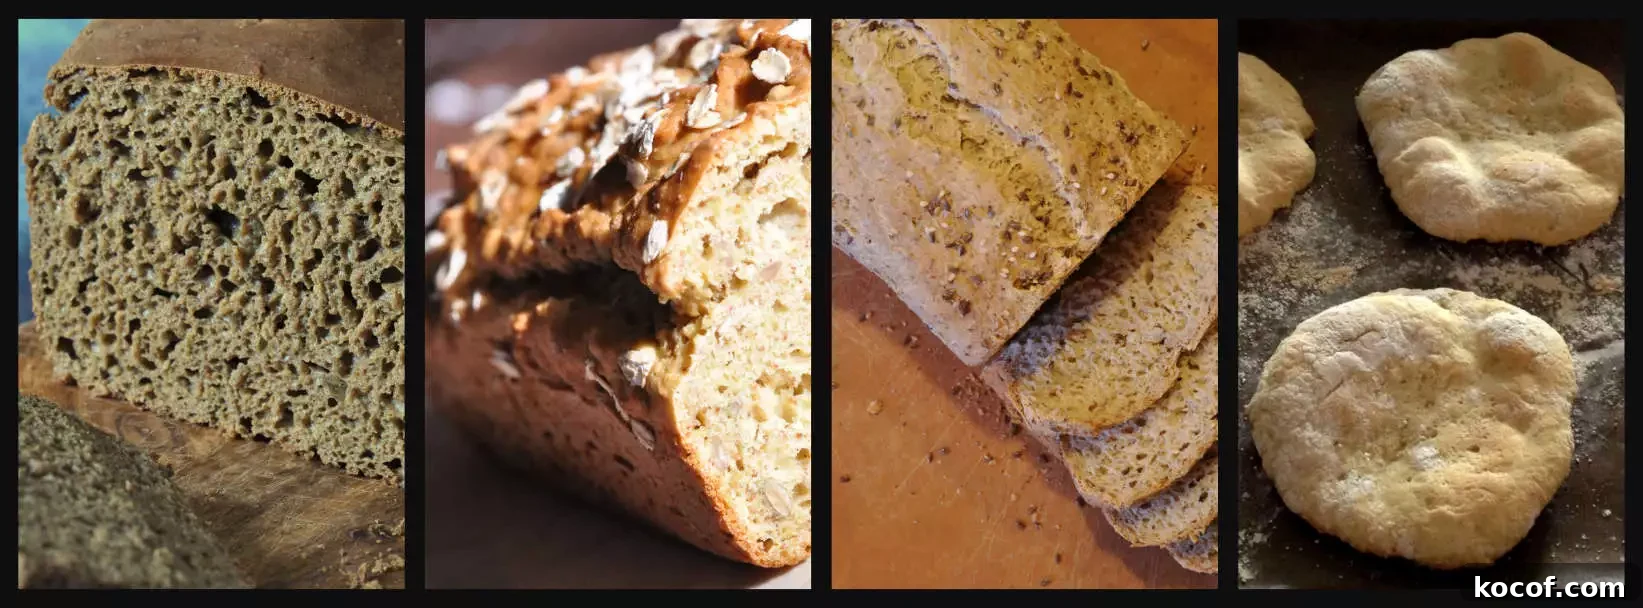
Fresh from a recent baking adventure sparked by my nine-year-old daughter’s solo accomplishment—she made an entire gluten-free yeast loaf all on her own—I’ve answered a number of common questions about homemade gluten-free bread. Many people assume gluten-free bread is difficult and finicky, but with the right approach it’s often faster and simpler than baking traditional wheat breads. With a few reliable tips and a bit of practice, baking delicious gluten-free loaves at home becomes a manageable, even joyful, skill.
The questions people asked clustered around three main topics, so I’ve organized this piece to address each area clearly: using a bread maker, choosing recipes, and troubleshooting common problems. This should make it easy to reference later when you’re ready to bake.
GF Bread in a Bread Maker:
Yes, I recommend using a bread maker for gluten-free loaves. For many home bakers, a bread maker removes a lot of the anxiety that comes with working from scratch. It handles mixing and the initial baking phases reliably, which can be particularly helpful if you don’t own a stand mixer.
That said, a bread maker is not required. I often prefer using a stand mixer and a conventional oven because they give me more control over rise and bake times. With a bread maker, you might occasionally need to extend the baking time, and in my oven I find it simpler to monitor and adjust as needed. If you value hands-on control, mixing and shaping by hand or with a stand mixer and finishing in the oven is a great option.
When selecting a bread maker, look for a model that includes a gluten-free setting. This is important because most gluten-free doughs should not go through punch-down or multiple rise cycles designed for gluten-containing doughs. A dedicated gluten-free program lets the machine mix and bake without those extra steps, making for a better-textured loaf.
Choose a well-reviewed, durable machine rather than the most expensive model. Simplicity and a reliable gluten-free cycle are more valuable than extra bells and whistles. If you already own a bread maker without a gluten-free setting, you can still use it with careful timing, but the dedicated setting removes guesswork and delivers more consistent results.
Best GF Bread Recipes:
There are many gluten-free bread varieties you can confidently make at home, from sandwich loaves to rolls, baguettes, and flatbreads. If you’re just starting, try a straightforward sandwich loaf recipe or a simple beer bread that requires minimal mixing. Once you’re comfortable, experiment with braided breads, hamburger buns, baguettes, and flatbreads like pita or naan. Each type has its own hydration and bake time considerations, but the fundamentals—proper flour blends, hydration, and using yeast that’s fresh—remain the same.
For rolls and breadsticks, use a slightly higher hydration and shorter bake time. For crusty baguettes, aim for steam in the oven during the first part of baking to help the crust develop. Braided loaves benefit from a slightly denser dough and careful handling to maintain structure. Flatbreads and pitas work well with higher hydration and quick, high-temperature baking so they puff and stay tender.
GF Bread Troubleshooting:
Common problems with gluten-free yeast breads include poor rise, sinking centers, and rubbery or underbaked bottoms. Often, these issues come down to a few root causes: incorrect hydration, expired yeast, insufficient proofing time, or oven temperature inaccuracies.
- If the bread won’t rise: Check that your yeast is active by proofing it with warm water and a pinch of sugar. Also confirm your flour blend has the right starch-to-protein ratio for structure; adding a bit more xanthan gum or psyllium husk can improve lift and crumb stability.
- If the loaf sinks in the middle: The structure may be too weak from overproofing or too much liquid. Reduce proofing time slightly and ensure the dough holds some elasticity from binders like psyllium or xanthan.
- If the bottom is rubbery: This can signal underbaking or too much moisture near the loaf’s base. Try baking on a preheated baking stone or raising the oven rack, and allow the loaf to cool on a rack so steam escapes instead of rehydrating the crust.
With a little experimentation and attention to these common factors—yeast, hydration, heat, and time—you’ll find gluten-free bread baking becomes predictable and rewarding. Whether you choose a bread maker for convenience or prefer mixing and baking in the oven, the key is consistent techniques and fresh ingredients. Happy baking!